Cat treats can be made at home with as few as 3 ingredients.
If you have a tin of fish (in water), an egg and some flour in the cupboard you have everything you need to make your cat some tasty treats from scratch.
You can even make treats using your cat’s usual food, this is particularly good if they are on a special diet, have allergies or have a sensitive stomach.
Making treats at home is an easy, inexpensive and fun alternative to buying cat treats.
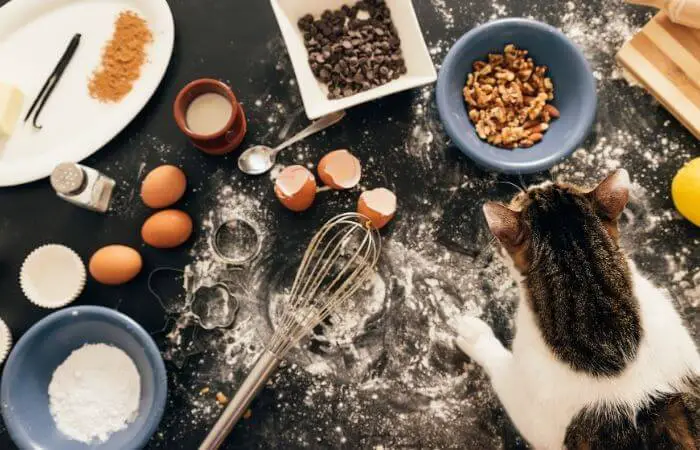
It gives you full control over what the cat treats are made of allowing you to ensure they are healthy and you can be certain that they haven’t expired (providing you feed them to your cat promptly).
Always remember that even healthy snacks should only be given in moderation – your cat should not eat more than 10% of its required daily calorie intake in treats.
Treats are for special occasions and should not be fed as a meal.
The homemade cat treats below usually take around 30 minutes to make and cats love them.
You can have fun experimenting with ingredients to tailor the snacks to suit your cat but if you adjust the recipe be sure to only add cat-friendly ingredients (check out the list of harmful ingredients to avoid that’s at the end of this article).
Contents
Homemade Fish Cat Treats
This simple biscuit recipe requires just 3 ingredients.
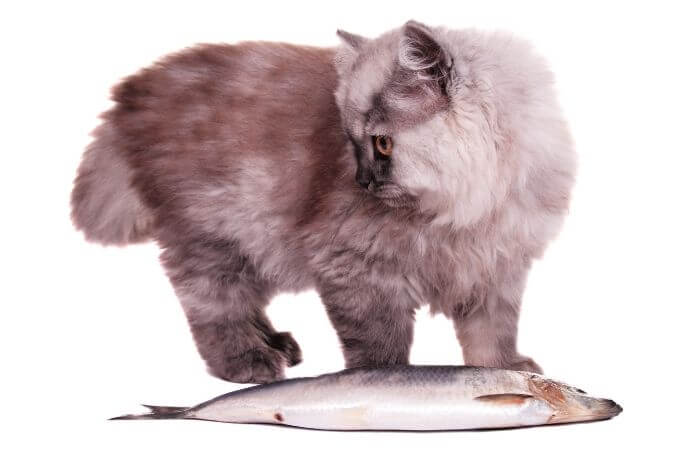
You will need a blender or food processor, a rolling pin, baking tray and if you want to be really creative with shapes a mini cookie cutter is a great idea too.
Ingredients:
- 1 tin of tuna or salmon (in spring water)
- 1 egg
- 210g plain or wholemeal flour
Method:
- Preheat the oven to 180 degrees C.
- Put the tin of fish into a blender (including the water from the tin), add the whisked egg and blend together until smooth. Once smooth, add the flour and stir until a dough is formed.
- Make the dough into a ball. Lightly flour a work surface and roll the dough out until it is around 1cm thick.
- Cut out biscuits. Keep the biscuit size small for your cat (think about the size of their usual snacks). To make cute shapes (such as little fish or pawprints), you can cut the biscuits with a mini cookie cutter.
- Place the dough shapes onto a lined baking tray and bake for 20-25 minutes. When the biscuits are crunchy and golden brown they are ready. Remove them from the oven and let them cool completely.
- Store in an airtight container. For added convenience, these should last up to 1-2 weeks.
Top Tip:
You can split the dough in half and freeze it if you want to save it for another time.
As these snacks last 1-2 weeks you don’t want to make too many at once.
When it’s time to use the rest of the dough just defrost it and continue the recipe from step 3.
Homemade Treats From Cat Food
You can also make treats using dry or wet cat food.
This can be a great way of giving your cat some “treats” and different textures to enjoy during the day without impacting their diet.
These are super simple and require little more than your cat’s usual food, a baking tray and an oven.
Triangle Cat Treats
If you feed your cat wet food, this is the recipe for you:
- Preheat the oven to 180 degrees C.
- Put half a tin of wet cat food onto a sheet of waxed paper, spread this out to the desired thickness.
- Cut triangles out of the cat food. Place the triangles onto a baking sheet and bake for 15 minutes.
- Flip the biscuits over and bake them for a further 15 minutes.
- Remove treats from the oven and leave to cool.
Homemade Cat Food Cookies
If you feed your cat dry food, try out this easy recipe:
- Preheat the oven to 180 degrees C.
- Blend 2 cups of dry cat food into a powder.
- Add 1.25 cups of water and stir until a dough is formed.
- Separate the dough into treat balls.
- Flatten the treat balls into small cookies, place them onto a baking sheet and bake for 30 minutes. The treats should be crispy.
- Leave the cookies to cool completely before offering to your cat.
Why Make Homemade Cat Treats?
Making treats yourself will not only save money but it is a great way of knowing exactly what your cat is eating.
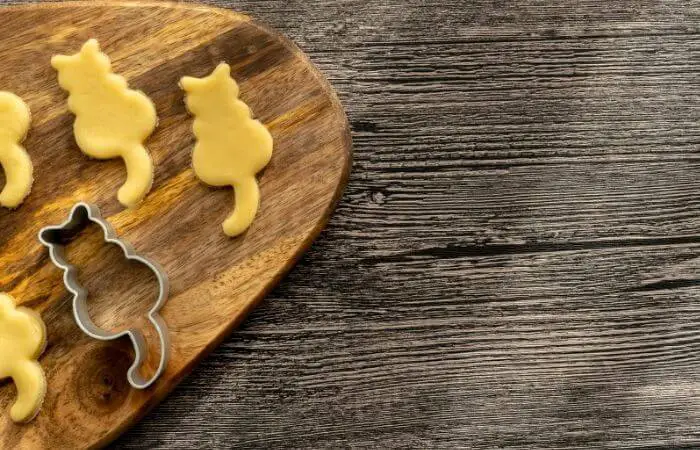
Some store-bought treats can trigger allergies or sensitive stomachs so homemade treats are an ideal way of offering your cat something that suits their dietary needs or taste preferences.
Making cat treats at home sounds complicated but as you can see from the above recipes, it can be very quick and easy!
Your cat will certainly appreciate them and your bank account will too.
What Other Ingredients Can Be Added?
If you like these recipes but want to tailor them to suit your cat specifically, you can!
If you know your cat is a fan of certain flavours then why not add or adjust the ingredients?
Here are some common foods cats love that you can add to the treats:
- Cooked chicken
- Cooked chicken liver
- Cooked beef
- Cooked lamb
- Sardines
- Dried catnip
- Oats
- Cooked pumpkin
Ingredients That Are Harmful To Cats
Be careful if you are adjusting the recipes.
Never add any of the following ingredients to your cat’s homemade treats.
These are harmful and some are even toxic to cats if ingested.
Never add an ingredient you are not sure about, always check a food is safe before offering it to your cat.
Never Give Your Cat:
- Alcohol (you could try them with a purpose-made wine for cats instead)
- Caffeine
- Chocolate
- Chives
- Cooked bones
- Garlic
- Grapes and raisins
- Milk
- Nuts
- Onions
- Xylitol
- Yeast dough
- Raw fish
- Fat trimmings
- Salt
Making Cat Treats At Home
DIY cat treats are one of the best ways to spoil your favourite feline.
Some store-bought treats have huge ingredients lists packed with artificial flavours and preservatives that are best avoided.
These are cat treats you can trust and you can have fun making them too.
As an Amazon Associate I may earn a small fee from qualifying purchases at no extra cost to you. This helps us run the site, so thanks for your support!



Leave a Comment